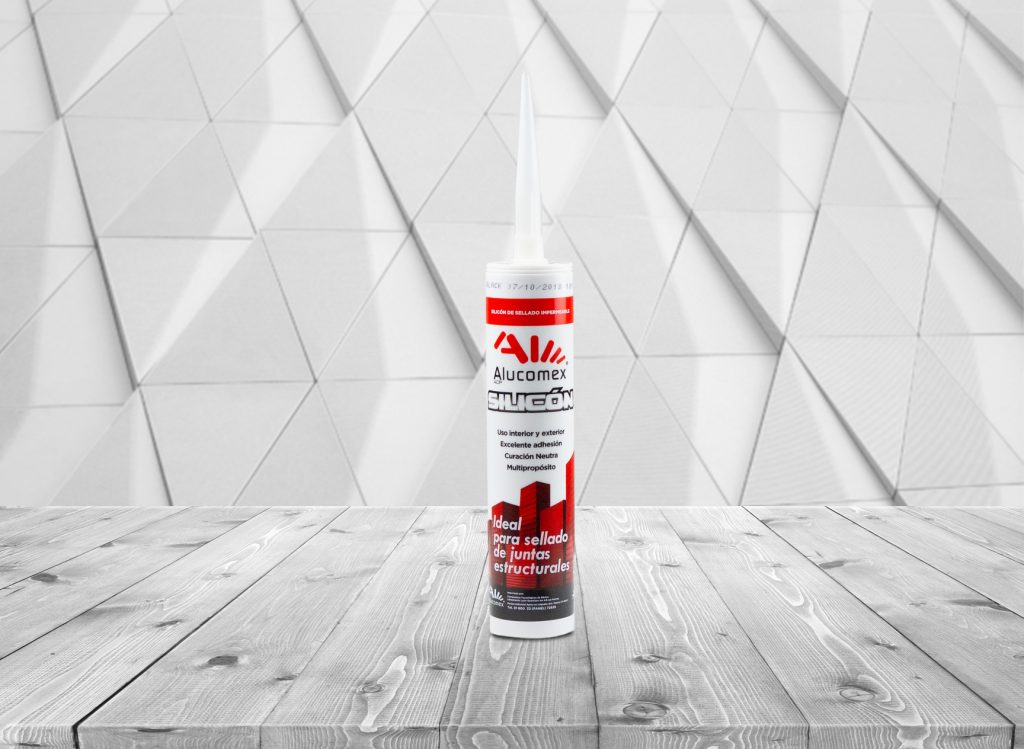
Description
Contains neutral core, architectural sealant for any building façade, including aluminum composite panel, natural aluminum, and glass. It is applied outdoors in any type of weather conditions and seals quickly at room temperature, durable and flexible silicone.
Application
Surfaces to be sealed must be sound and free of contaminants. In the case of smooth surfaces (such as glass, metal, etc.), cleaning is done with the two-pad technique, which consists of wiping the surface with a cloth (lint-free) impregnated with isopropyl alcohol and immediately removing all the impurities with another clean, dry cloth.
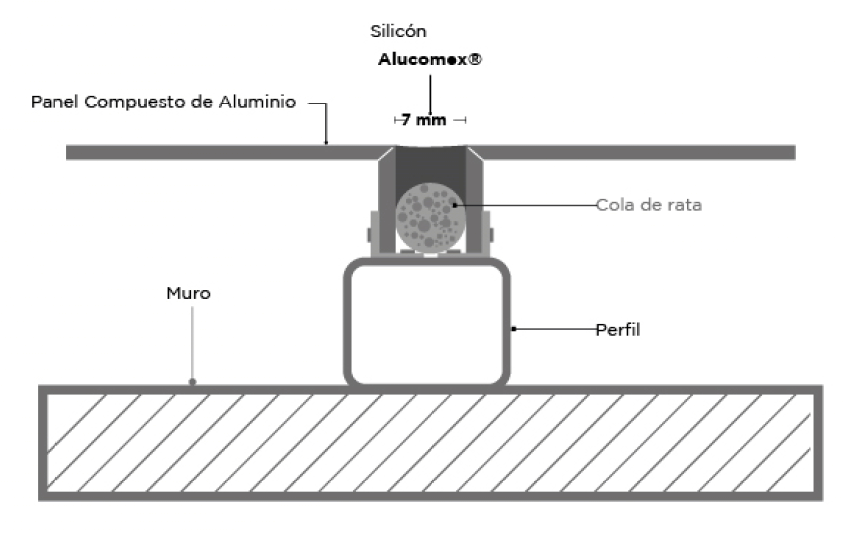
Mask with masking tape on the surfaces delimiting the area to be sealed. Insert Alucomex® Silicone into the cartridge gun, cut off the top of the cartridge. Then place the pipette and cut it at 45 °, calculating the width of the joint to be sealed. Pull the gun trigger to depress the plunger and the product will flow over the joint. Apply the sealant in the form of a bead on the surface to be sealed. A minimum section of 7 x 7 mm and a maximum of 10 mm must be left.
Finally, a review will be made in the opposite direction to the application. by means of a straight spatula to achieve the necessary penetration in the joint, a better adhesion and to break the air bubbles that can be trapped during the application. At the end of the application, remove the masking, peeling in the opposite direction to the application in a continuous but controlled movement. The surplus can be removed as soon as possible with a cloth dampened with water.
Recommendations
- Prepare all your materials and tools to use.
- Cut the nozzle from the silicone and adjust the gun to apply it.
- Apply the silicone, sealing the joint without the formation of air.
- Make sure that the silicone completely fills the cavity to be covered.
It is advisable to use adhesive tape as a working tool to control the excess of silicone with adjacent areas and ensure an aesthetic work. It is not advisable to apply primer on the silicone.
Limitations
This silicone has a high resistance to weathering, however it is not suitable for structural use, it should NOT be applied in the following conditions:
- Not for construction materials that contain or can emit oils, plasticizers or solvents, sulfur layers or tapes etc.
- Not on prime painted surfaces, it may cause paint cracks.
- Do not apply to wet or icy surfaces.
- Do not use on surfaces that contain direct contact with food.
- Not in parts that easily suffer mechanical wear.
- Do not apply to surfaces that may leak.